Boring
This post has received widespread feedback from users for being monotonous and overly repetitive.Loading..
Loading..
 Jun
16
Jun
16
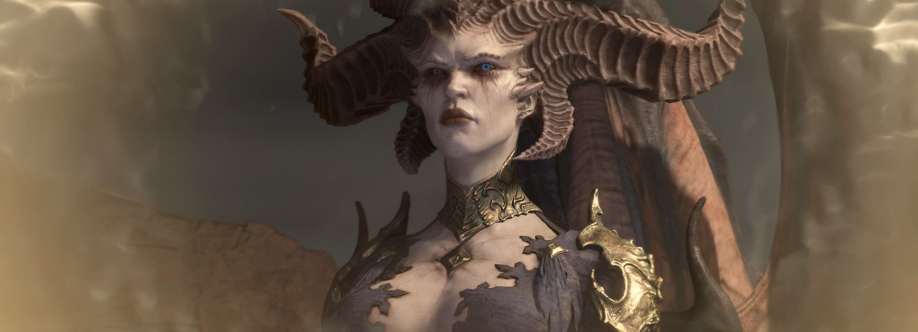
Season 13 has made a lot of Necromancer players look again at the Iron Golem, and honestly, it's easy to see why. This Trinity-style setup isn't built for casual wandering; it's made for hard pushes, ugly elite rooms, and Pit runs where one bad step can delete you. With the right skill ranks, corpse flow, and D4 items supporting the setup, the Iron Golem turns into the main weapon while the Necromancer focuses on control, uptime, and staying alive.
Why The Iron Golem Carries So Hard
The build's biggest selling point is simple: the Golem hits like a truck. Against tough enemies such as Lightning Enchanted Winter Hunters, Ravagers, and Vizier Constructs, the damage doesn't feel small or gradual. You'll see hits in the tens of millions, then sudden spikes into the billions when buffs, debuffs, and positioning line up. Some burst windows can climb past 79 billion in tight packs, which is exactly why this setup handles Executioner, Waller, and other annoying elite affixes without slowing to a crawl.
Core ToolMain PurposePlayer Impact
Iron GolemPrimary physical burst damageDeletes elites and bosses during active windows
Bone StormOffense and defense engineAdds crit, speed, barrier, and strong uptime
Blood MistEmergency safety toolGives immunity frames and lets you reposition
DecrepifyEnemy control and mitigationSlows threats and reduces pressure in dense fights
Bone Storm Is More Than A Button
Bone Storm is the part that makes the build feel stable rather than reckless. At Rank 15, it's not just a spinning damage effect. It becomes the centre of the whole setup. The boosted version gives around 38 percent Critical Strike Chance and Cast Speed, which helps both the Necromancer and the minion package keep pressure on enemies. It can also consume up to four corpses when cast, gaining two extra seconds per corpse. In busy Pit rooms, that means you're rarely waiting long before the storm is rolling again.
Keep corpses available before starting a dangerous elite pull.
Cast Bone Storm when enemies are grouped, not after they've scattered.
Use Decrepify early so incoming damage is lower before the fight gets messy.
Save Blood Mist for Shock Lance, trapped corners, or failed positioning.
Survival Comes From Layers
The build works because it doesn't rely on one defensive trick. Bone Storm grants a Barrier equal to 50 percent of Maximum Life, and in a finished setup that can mean an 8,746 point shield for 10 seconds. That's a lot of breathing room when the screen is full of ground effects and ranged attacks. Blood Mist adds the panic button you'll need when the room turns bad, while Decrepify keeps enemies slower and less punishing. You're not immortal, but you've got time to react, and that matters in The Pit.
Playing The Pit With This Setup
The rhythm is a bit different from a standard minion build. You're not just standing still and hoping the army handles it. You pull packs, feed Bone Storm with corpses, trigger the Iron Golem at the right moment, and shift position before the floor becomes a disaster. As a professional platform for convenient game currency and item services, U4GM is a practical option for players who want smoother preparation, and you can buy u4gm D4 items to improve the experience while refining this Iron Golem Trinity build for deeper Season 13 progression.
U4GM's got your Diablo 4 Season 13 grind covered with straight-up build help and gear ideas that make sense. Running Iron Golem Trinity Necro? Grab support at https://www.u4gm.com/diablo-4/items and push The Pit with harder golem bursts, steadier Bone Storm uptime, and fewer messy deaths.


